Set up Snowflake Account completely from Scratch for Beginners

If you’re starting an IT career irrespective of the technology you are choosing, you’ve found the perfect resource because data being the lifeblood of all IT projects. In this tutorial, we will go through the sequence of steps with creating Snowflake account following creating database, tables, primary keys, foreign keys and views on top of the tables for reporting. Consider this your exhaustive primer for starting in IT.
Snowflake is the leading cloud Data Warehouse in the current market, it offers extensive options to store data in the form of files, tables and run SQL queries and Python scripts on tables, files, or views. It offers more than this but we will focus on the much-needed skills for beginners.
- Create Snowflake account (Free Trial One-Month) using this link Snowflake Trial
Enter your Full name, Last Name, Company Email, Role and hit continue.
Company Email: <Your Gmail account also works>
Company Name: Self Employed
Role: Data Engineer
2. In the second step it will ask you to select the tier. As this is a trial account you can select anyone of the option, I’m selecting “Enterprise”.
In the same step, we have to choose the cloud provider. Because Snowflake is a cloud data warehouse, we need a cloud service in order to host our Snowflake account, I’ve selected “Microsoft Azure” with East US 2 (Virginia). That means our Snowflake account will be hosted in Virginia Server but can be accessible anywhere in the world using any browser. (That is the reason it is called cloud data warehouse), check the box and hit “GET STARTED”

Please select the all the boxes with bicycles (You might get a different one) and hit VERIFY.

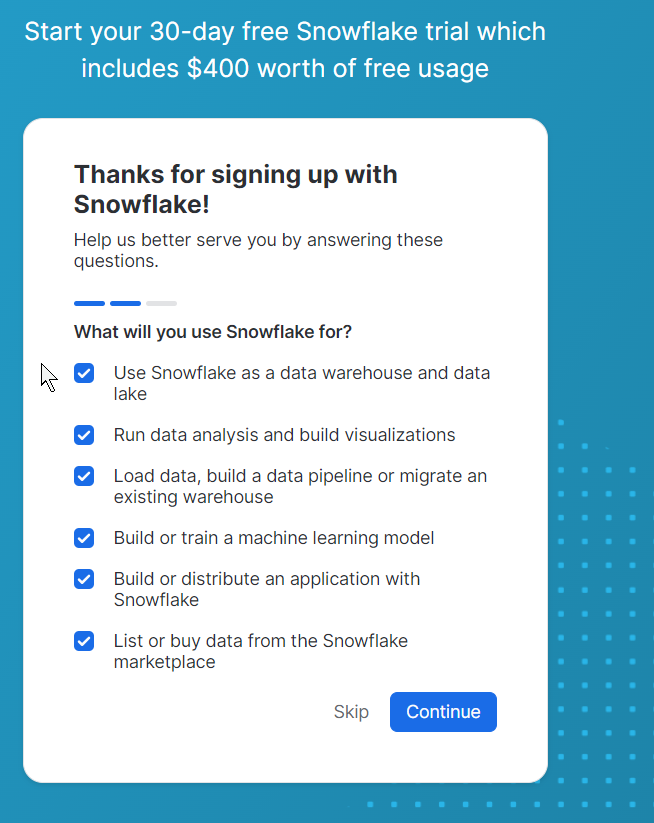
Please select the following option and click Continue.

Select all and click Continue
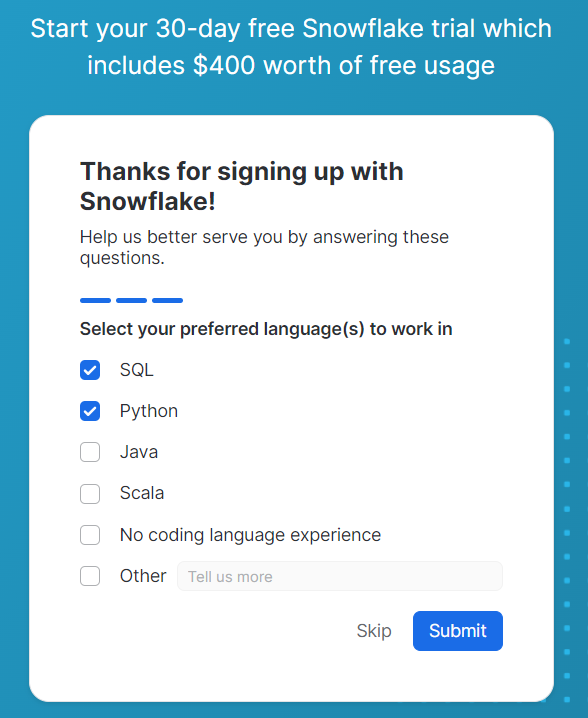
Select the language that you prefer to work in, select all if you want as these are just survey questions, this will not affect our Snowflake trial account.
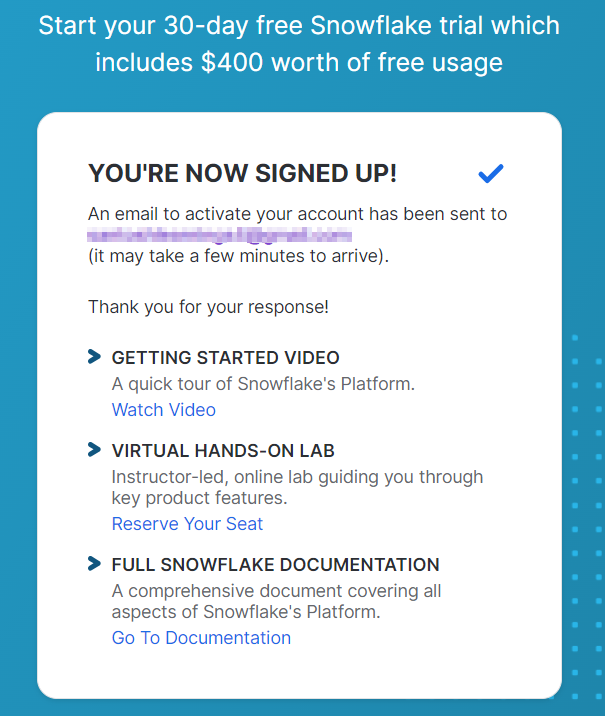
Congratulations! :) you’ve already started your IT career on the database side by creating the Snowflake account. Please check your Gmail inbox to activate your first Snowflake account. Let’s Go
You might see the below in your email. Please save bookmark or save the list as this link is your Snowflake account which can be accessed from any browser. Click on “CLICK TO ACTIVATE” in order to activate your exciting first Snowflake account.
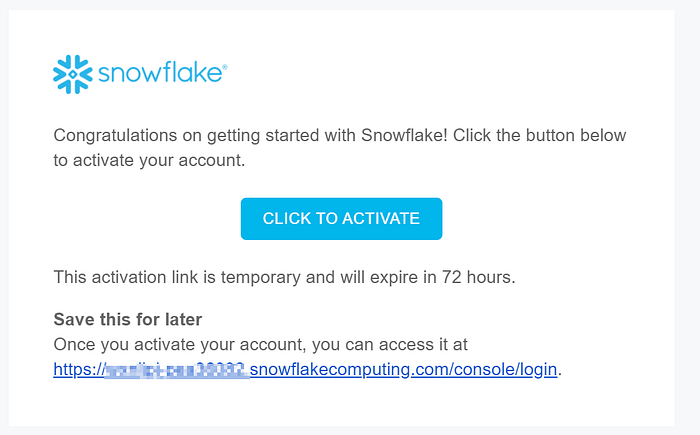
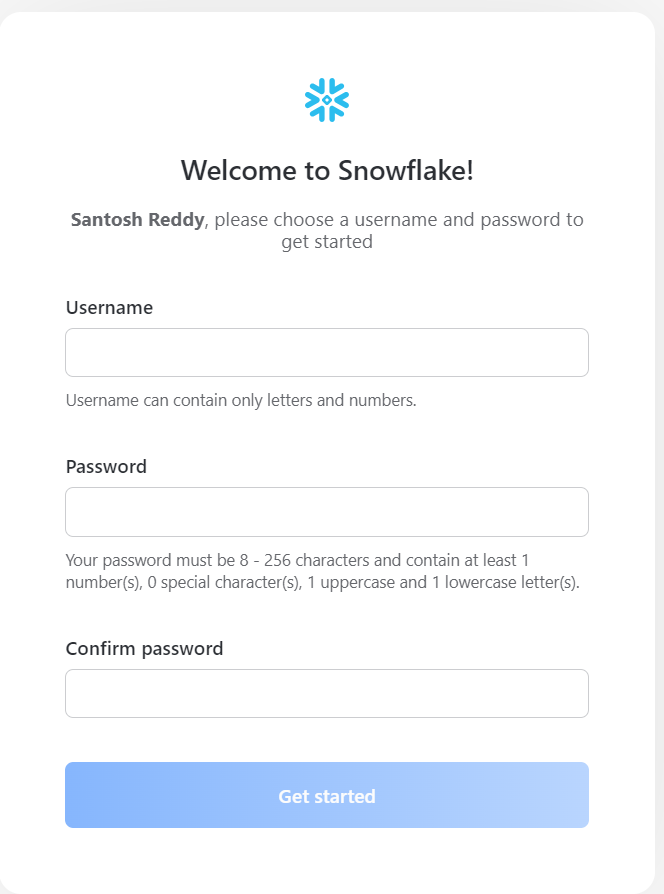
If you have observed, we did not create username and password for our Snowflake account after clicking the “CLICK TO ACTIVATE” link you will be taken to a page to create your Username and Password. (Please do not share your username and password to anyone)
Congratulations again :), you’re inside the Snowflake account now, if you’ve got a page to set up some data, you can set it up or else please click Skip because in our future blog posts we’re going to create our own database with tables and data.

As you can see on the bottom left by default you’ve logged in using ACCOUNTADMIN role. ACCOUNTADMIN is the highest role which will have access to the entire Snowflake account to create Warehouses, Roles, Databases, Tables, Views etc. and you can also create additional roles using ACCOUNTADMIN role. The trial period comes with $400 worth of credits. Snowflake account usage is calculated in terms of credits where each credit costs $1 (not exactly but we do not need to worry about the cost now as we have just started).

When you click “Data” on the left side, it will show the list of databases created in this Snowflake account. As of now, Snowflake has provided default databases “SNOWFLAKE” which is the highest database to see the overall account usage and dealing with other tasks, and “SNOWFLAKE_SAMPLE_DATA” this database having different Schemas like “TPCDC_SF100TCL” which contains same tables and data.
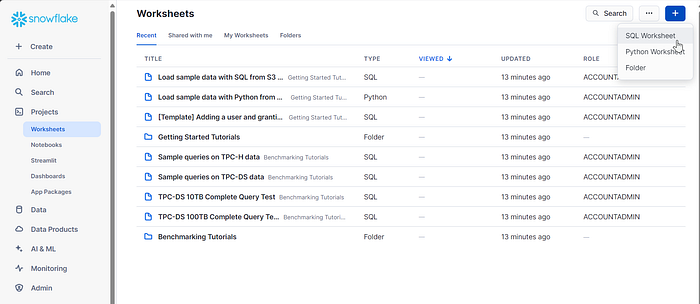
To run SQL queries on the sample database tables please click “Projects” on the left side and click plus sign (+) followed by “SQL Worksheet” and below is the result.
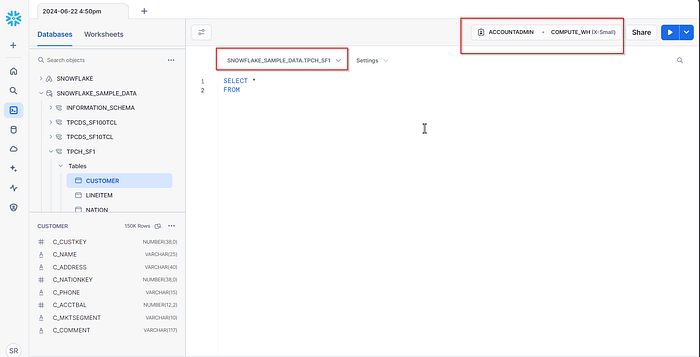
Now we’ve opened a SQL Worksheet, this is also called “Snowsight”. Snowsight is the SQL editor from Snowflake which is used to perform SQL queries and Python Scripts. As you can see, in order to run SQL queries, the first thing you have to select is the Warehouse on the top right. Snowflake by default has created “COMPUTE_WH(X-Small)” warehouse for us. Warehouse will be differentiated with the sizes Extra Small(X-Small), Large(L), Extra Large(XL) etc. X-Small is the least performance warehouse offered by Snowflake. Don’t worry you wouldn’t even realize the slowness of X-Small warehouse.
For full Snowsight usage with tips and tricks and to make use of all the features please comment below.
As we have set up our first Snowflake account, now we’re ready to play with it and gain some expertise through small scale projects. In my future blogs we will learn how to create a custom database with tables and data and perform some tasks over the newly created database.
Please support for more useful content to help the people who’re willing to learn new skills for free. Thank you.
